Genshin Impact Arlecchino is here with better attacks and damage. Since the version 6.1 phase 2 runs, she is making her return to the game, and now, the best thing you want is a Genshin Impact Arlecchino build guide. By knowing who she is, and how to maximize her power, you will be able to launch the maximum damage so here we are.
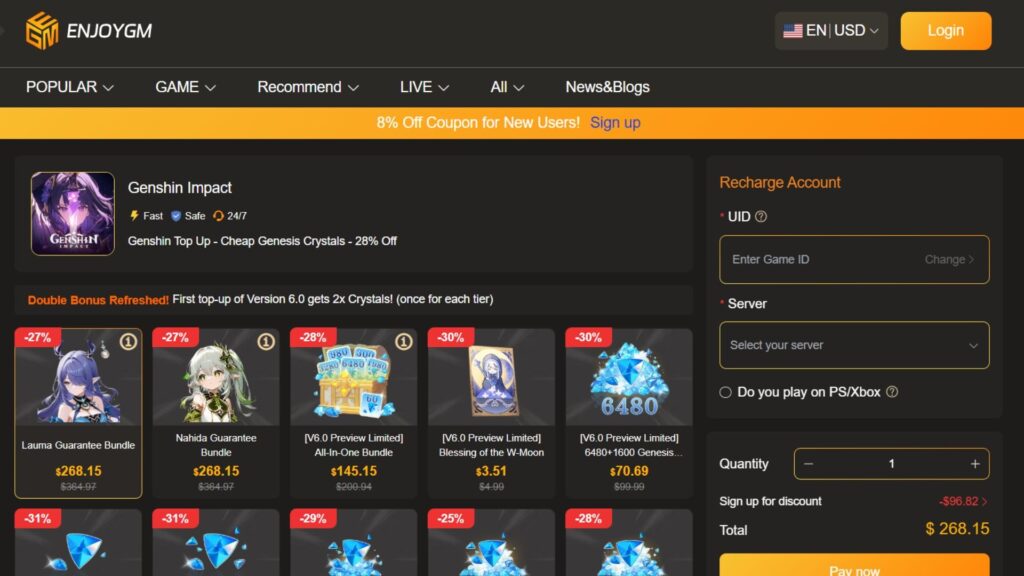
And before we start, we recommend you to start investing in the Arlecchino guarantee bundle from Enjoygm. If you top up Genshin Impact there, you get enough Genesis crystals to bring her into your team so make sure to give your moves there as well before the start.
Who is Genshin Impact Arlecchino?
Arlecchino is a 5-star Pyro polearm user and “Father” of the House of the Hearth, returns in Version 6.1 Phase 2 from November 11 to December 2, 2025. She plays as a hypercarry Main DPS, focusing on strong Pyro-infused Normal Attacks powered by her Bond of Life. Her attacks deal heavy AoE Pyro damage that scales with ATK, making her strong even without relying much on her Burst.
Arlecchino’s gameplay revolves around careful control of Blood-Debt Directives, which you apply using her Skill. You then build up Bond of Life with Charged Attacks to activate her special mode, the Masque of the Red Death, for boosted damage combos. Since she can only heal herself through her Burst and cannot use outside healing, you’ll need to manage timing and positioning carefully. The reward is massive damage potential for players who enjoy aggressive, high-risk gameplay.
How to Use Arlecchino Effectively
Having the best Genshin Impact Arlecchino builds means you better know exactly how to use her. And doing this effectively can be done with these steps:
- Open with Skill (E – All Is Ash): Use her Skill first to mark enemies with Blood-Debt Directives. These marks deal off-field Pyro damage over time.
- Switch for Buffs: Swap to your support units for attack boosts or Hydro reactions before bringing Arlecchino back.
- Charge and Absorb Marks: Use a Charged Attack to absorb all active marks and build your Bond of Life. Each mark grants a percentage of Bond based on your HP, up to a set limit.
- Activate Masque of the Red Death: When this mode activates, her Normal Attacks turn into Pyro strikes that scale with her Bond of Life. You can perform combos like N1–N3 with Dash Cancel or full 6-hit chains for higher damage. Each hit consumes a small portion of the Bond, so manage it wisely.
- Use Burst (Q – Balemoon Rising) When Needed: Her Burst delivers a strong AoE explosion while healing her based on both her Bond and ATK. Since healing also feeds back into her Bond, you can use it for both recovery and extra power.
Genshin Impact Arlecchino Build Tips
For a beginner, the best way to build her ill come through several steps and this is what we recommend you:
- Focus on Charged Attack followed by Normal Attack combos (C > N4–N6) for optimal rotations.
- Dash Cancel after N3 or N5 to save time and improve DPS flow.
- Her signature weapon gives her a strong start with extra Bond at the beginning of fights.
- Aim for 2000+ ATK and 70/160+ CRIT stats, avoiding HP investment since her kit already handles it through Bond scaling.
- After 5 seconds, Blood-Debt Directives turn into Dues (her A1 passive), giving double Bond value when absorbed, so plan your rotations around this.
- If you have C2, absorbing marks triggers a massive 900% ATK nuke, making her even more explosive.
Best Weapons for Arlecchino
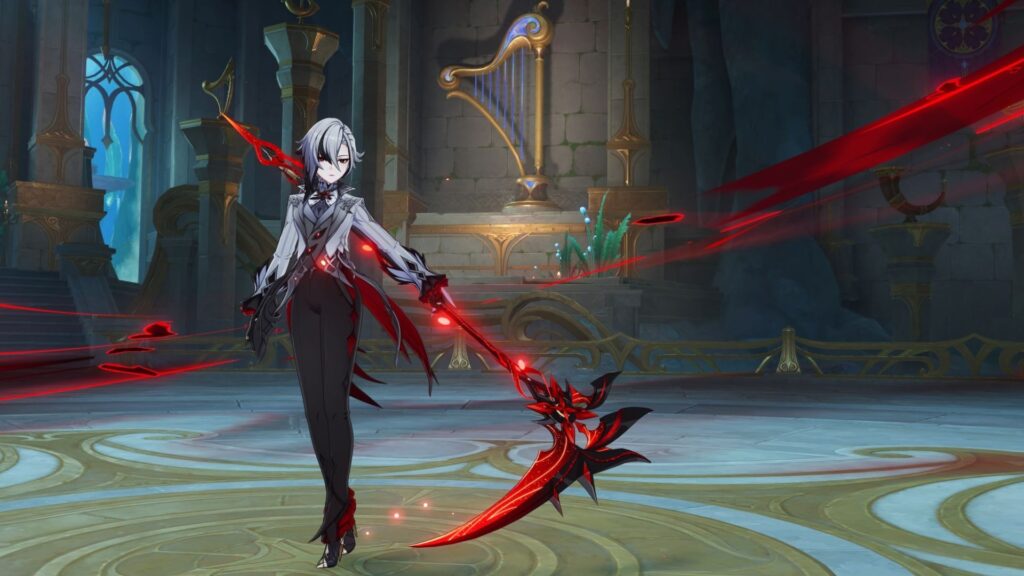
You can focus on CRIT/ATK weapons with Arlecchino to improve the Bond-scaling NAs. With that, her signature transforms into a scythe and these are the weapons we recommend with her.

| Rank | Weapon | Base ATK (R1) | Substat | Why It Excels |
| S+ | Crimson Moon’s Semblance | 674 | CRIT Rate 22.1% | BiS: +25% Max HP Bond on C (every 14s), +12-36% DMG while Bonded. QoL Bond gen, huge edge over others. |
| S | Staff of Homa | 608 | CRIT DMG 66.2% | HP-based ATK (0.8-1.8%), shines above 50% HP. Versatile stat stick. |
| S | Primordial Jade Winged-Spear | 674 | CRIT Rate 22.1% | Stacks CRIT DMG (3.2-14.4%), easy uptime. |
| A+ | Staff of the Scarlet Sands | 510 | EM 110 | Vape EM sands synergy, ATK buff post-Burst. |
| A | Deathmatch (BP) | 454 | CRIT Rate 36.8% | ST burst, scales with enemies. |
| A- | White Tassel (F2P) | 401 | CRIT Rate 23.4% | +24% NA DMG—perfect for her kit, pairs with Bennett. Avoid Blackcliff. |
Best Artifacts & Stat Priorities
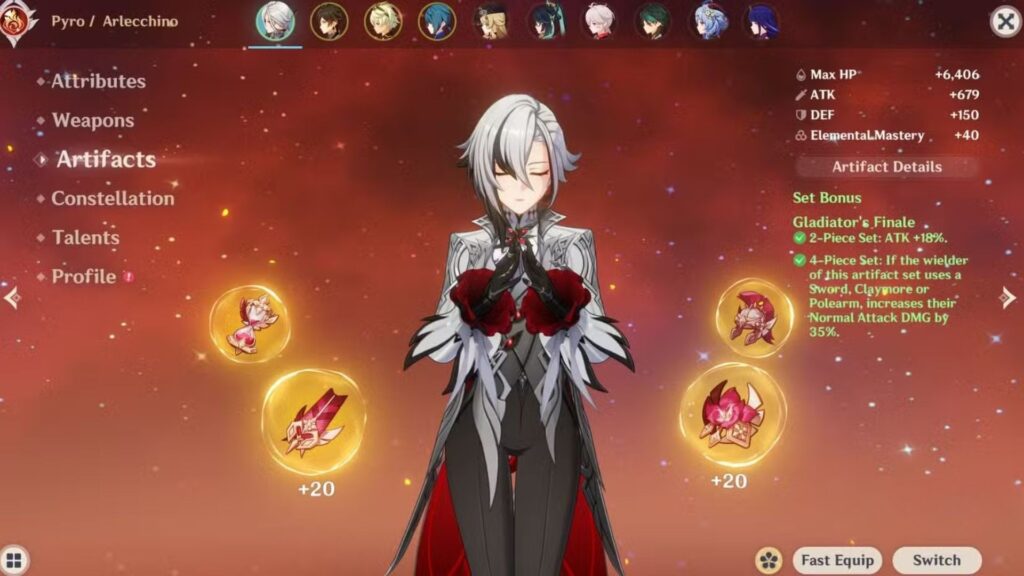
· 4pc Fragment of Harmonic Whimsy (Faded Theater domain): BiS, +18% ATK (2pc), 18% DMG/stack (up to 54%, 6s) on Bond gain/loss, 100% uptime via NA consumption.
· Alternatives: 4pc Gladiator’s Finale (+35% NA DMG, easy farm), 4pc Unfinished Reverie (Burning only), 4pc Echoes (low ping NA proc).
Recommended Substats
Focus on these substats in order of importance:
- CRIT DMG / CRIT Rate – Your top priority. Aim for around 70–80% CRIT Rate and 160%+ CRIT DMG.
- ATK% – Increases overall damage output.
- Elemental Mastery (EM) – Useful for Vaporize or Melt setups.
- Energy Recharge (ER) – Keep it between 120–150% only if you plan to use her Burst every rotation.
You should also aim for around 2000 ATK for balanced performance. Tools like Genshin Optimizer can help fine-tune your build.
Talent Leveling Order
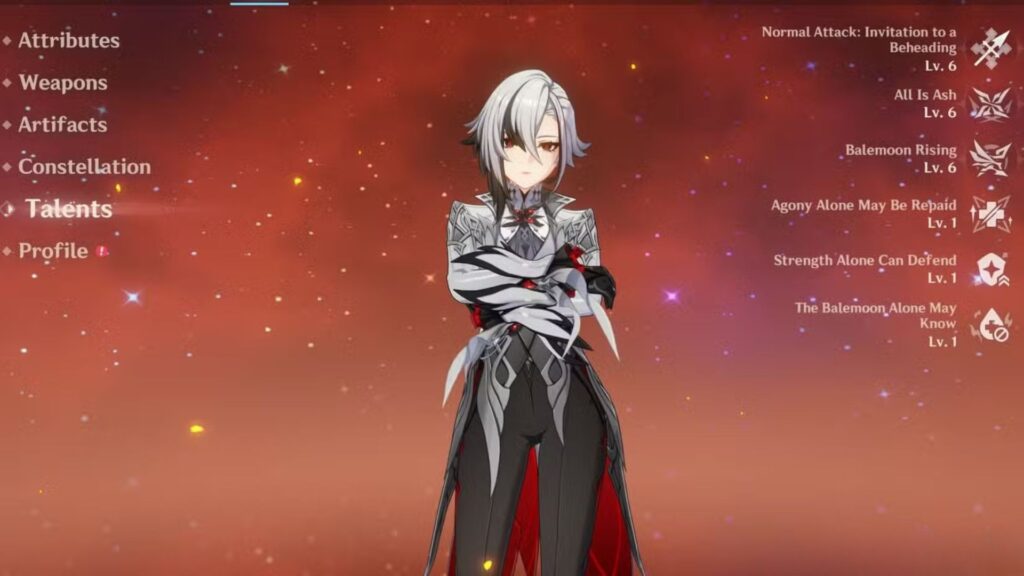
Arlecchino’s damage mainly comes from her Normal Attacks, so focus on leveling them first.
- Normal Attack – Highest priority since it contributes to over 90% of her total damage.
- Character Level 90 – Improves base stats and overall scaling.
- Burst – Use it for healing and big damage bursts, especially strong at C6.
- Skill – Boost it to around Level 6–9 for consistent Bond generation.
Talent Materials (Per Talent to Level 10)
- Books: 3 Teachings of Order, 21 Guide to Order, 38 Philosophies of Order
- Insignias: 6 Recruit’s, 22 Sergeant’s, 31 Lieutenant’s
- Weekly Boss Drop: 6 Fading Candle (from Knave)
- Crown of Insight: 1 per talent
- Mora: 4,957,500 per talent (around 15M total for all three)
Ascension Materials (Level 1–90)
You’ll need the following to fully ascend Arlecchino:
- Agnidus Agate: 1 Sliver, 9 Fragments, 9 Chunks, 6 Gemstones
- Insignias: 18 Recruit’s, 30 Sergeant’s, 36 Lieutenant’s (from Treasure Hoarders)
- Rainbow Rose: 168 (found along Fontaine’s shores)
- Fragment of a Golden Melody: 46 (from Knave weekly boss)
- Mora: 420,000
Best Arlecchino Team Compositions
Arlecchino works best in teams with strong buffers and shielders, as she can’t be healed by others during her Masque state. She fits perfectly in Vaporize, Melt, Overload, Mono Pyro, or even Burning setups.

So, these are the teams that we recommend you to go with her:
Premium Vape (High Damage Setup)
- Team: Arlecchino / Yelan / Bennett / Kazuha
- Rotation: Arlecchino (E, Q) > Yelan (E, Q, N1) > Bennett (E, Q) > Kazuha Plunge > Arlecchino Charged + 6-hit combo (N3 Dash Cancel)
Melt (Current Meta with Citlali)
- Team: Arlecchino / Citlali / Xilonen / Bennett
- Provides strong Cryo application and Resistance shred, doubling her Pyro damage output.
F2P Overvape Setup
- Team: Arlecchino / Xingqiu / Fischl / Bennett
- Rotation: Arlecchino (E, Q, E, N4) > Xingqiu (E, Q, N1) > Bennett (E, Q, N1) > Fischl (E, Q) > Arlecchino Charged + 6-hit combo
Overload Setup (Chevreuse Variant)
- Team: Arlecchino / Fischl / Chevreuse / Bennett
- Delivers huge ATK boosts and lowers Pyro Resistance for massive hits.
Mono Pyro Team
- Team: Arlecchino / Xiangling / Bennett / Zhongli (or Xilonen)
- Focuses on pure Pyro synergy for reliable and explosive damage.
Burning Setup (Niche)
- Team: Arlecchino / Emilie / Nahida / Bennett
- Works best with a 4-piece Unfinished Reverie set for consistent Burning uptime.
And remember, some of these team members are hard to earn and if that is the case, make sure to have more Genesis crystals to do the deal in seconds. They are cheaply available at Enjoygm so make sure to top up there to assure you can pull your required team members in time. you can try claiming Genshin Impact redeem codes for the same purpose too.

Constellations Breakdown
You should consider pulling for Constellation 1 and 2 early for Arlecchino builds if you want to boost her damage and make rotations smoother. If you can, getting these constellations early will make Arlecchino hit harder and feel much more satisfying to play.
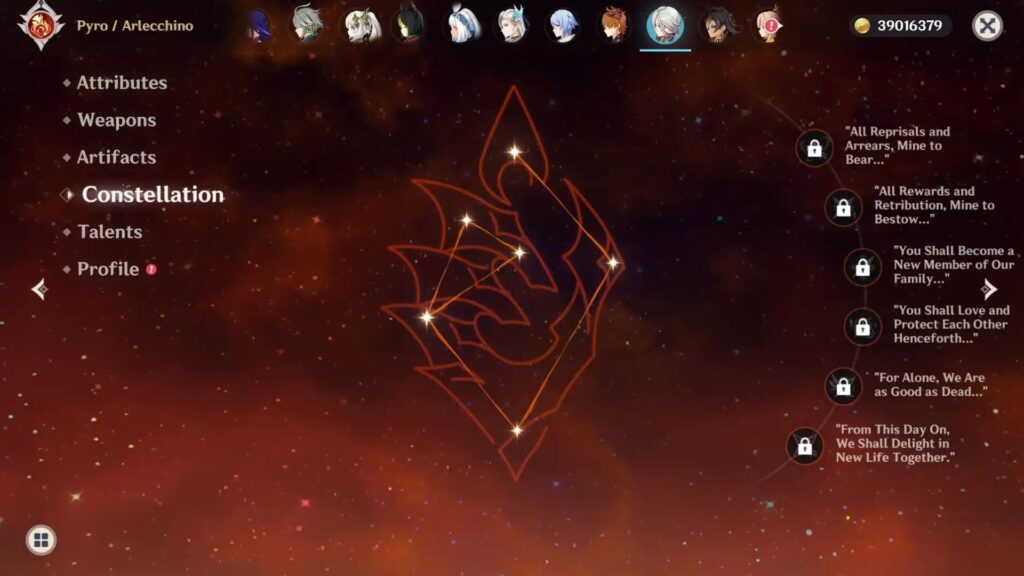
| Constellation | Effect | Value |
| C1 | +100% Masque boost + NA IR | Must-have for comfort/DPS |
| C2 | Directives start as Dues; 900% ATK nuke +20% RES down | Nuke + max Bond |
| C3 | NA +3 (max15) | Solid |
| C4 | Absorb -2s Q CD +15 ER | Burst uptime |
| C5 | Q +3 (max15) | Minor |
| C6 | Q +700% ATK x Bond%; post-E: +10/70 CRIT (NA/Q) | Godly nuke/CRIT amp |
Conclusion
So, this is how the perfect Genshin Impact Arlecchino builds can be done. And now, are you ready to dominate with her? Then, no second looks, here is your way.